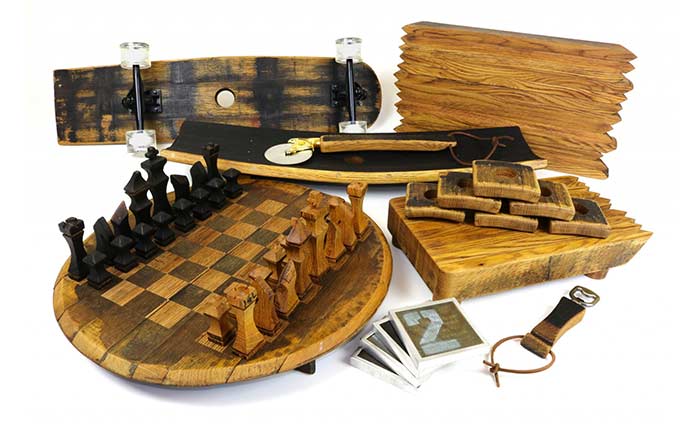
So now that you are back in your work space with the barrel staves lets talk about a few tool you’ll need to make your job easier.
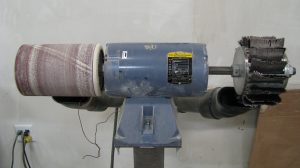
Drum/Flapper Sander – This tool is excellent for cleaning up the staves. First, you’ll want to run the wood through the sanding bladder (left side which you can control the hardness by an air pump). Sand the whole surface and the sides real well, but makes sure not to go over board. You don’t want to start taking off any of the natural discoloration that the barrel has collected over the years. Then I like to sand down the edges a little too to get rid of any sharp corners. When you think the piece is acceptable for use, go ahead and run through the flapper which will give it an extra smooth finish and buff out any marks left by the sander. For each barrel I like to spend between 60-90 minutes cleaning to ensure quality.
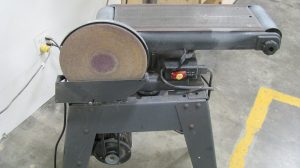
Bench Sander – This tool will come in handy when you need to take away quit a bit of material that is too small for the miter saw. Besides, with most of the pieces you will have to play with a little at a time anyways to get that perfect fit. You want to make sure you are using sand paper that is real course ,40 or 60 grit should do it. Free hand work where you are mainly measuring with your eyes on what angle to sand and how much to take off can be a little tricky at first, but with a little trial and error you will pick it faster than you think. The key is to remember that all pieces are going to be different, you don’t need to have everything exactly the same measurement. As long as the chair is not wobbling and looks good, don’t worry about the tiny imperfections that only you ( who built the chair) knows about and a tape measure.
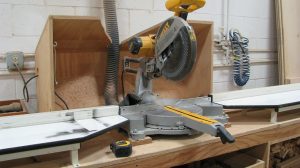
Miter Saw – A saw like this is absolutely necessary for this project because 90% of the staves will have to be cut on way or another. A really important thing to keep in mind while making cuts to a stave is safety. Obviously the material you are cutting is not flat and even the edges are at a miter so the wood will not always have enough support, which needless to say can make working a little risky. So make sure you keep a good firm grip on each piece and easy into each cut nice and slow.
Band Saw – I mainly use it when its time to cut the front stave in the seat. It work perfectly since the whole entire cut is at a curve. But an easy alternative to this tool is just a Jig Saw. That will do the job also but now you’ll need to hold down the material with clamps. A band saw will also help you out if you don’t have a rough sander to take away material and you can also make any intricate cuts that might be needed.
Drills – It’s pretty evident that you will need to drill holes and drive in screws, therefore don’t even think about starting without a good set at hand. I usually use two just because I like to keep one ready for drilling pilot holes and the other to drive in the screws. It may not seem like it but have to switch out bits during work will take up a lot more of your time than you think.
Kreg’s Pocket Hole Jig – Using pocket holes will make it much easier for you to put joints together and will conceal the hardware. This is not an absolute have to but if you are like me who dose not like too many screws out in the open you will find it useful as well. Just remember to set it up for the right depth and width of the material.
Clamps – The clamps will help you out tremendously when you are putting the pieces together. Not having to hold a drill in one hand and the stave in the other will needless to say make your job easier and less frustrating. Also I’m the kind of guy who likes to make sure everything fits just right and look perfect before committing with the glue and the final hardware.
COMING UP NEXT WEEK “GETTING STARTED” AND SOON A VIDEO HOW TO.
If you have any additional question please don’t hesitate to send me an email. Thank you for stopping by and have a great day.
-Balazs Moldovan


