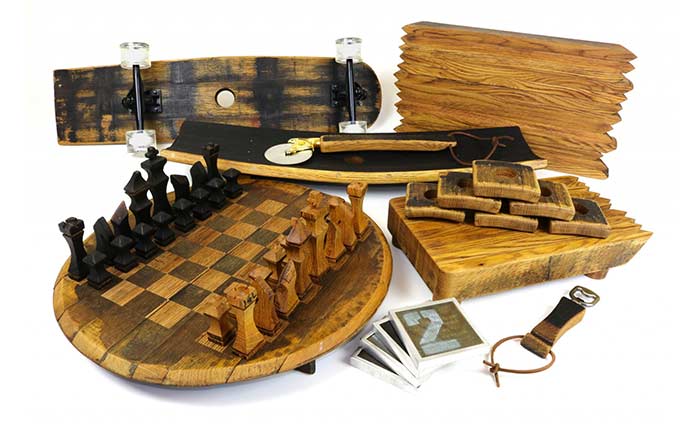
If you’re looking for a unique and rustic piece of furniture, a reclaimed whiskey barrel chair might be just the thing for you. These chairs are not only aesthetically pleasing, but they’re also functional and comfortable. Here are the steps to make your own reclaimed whiskey barrel chair.
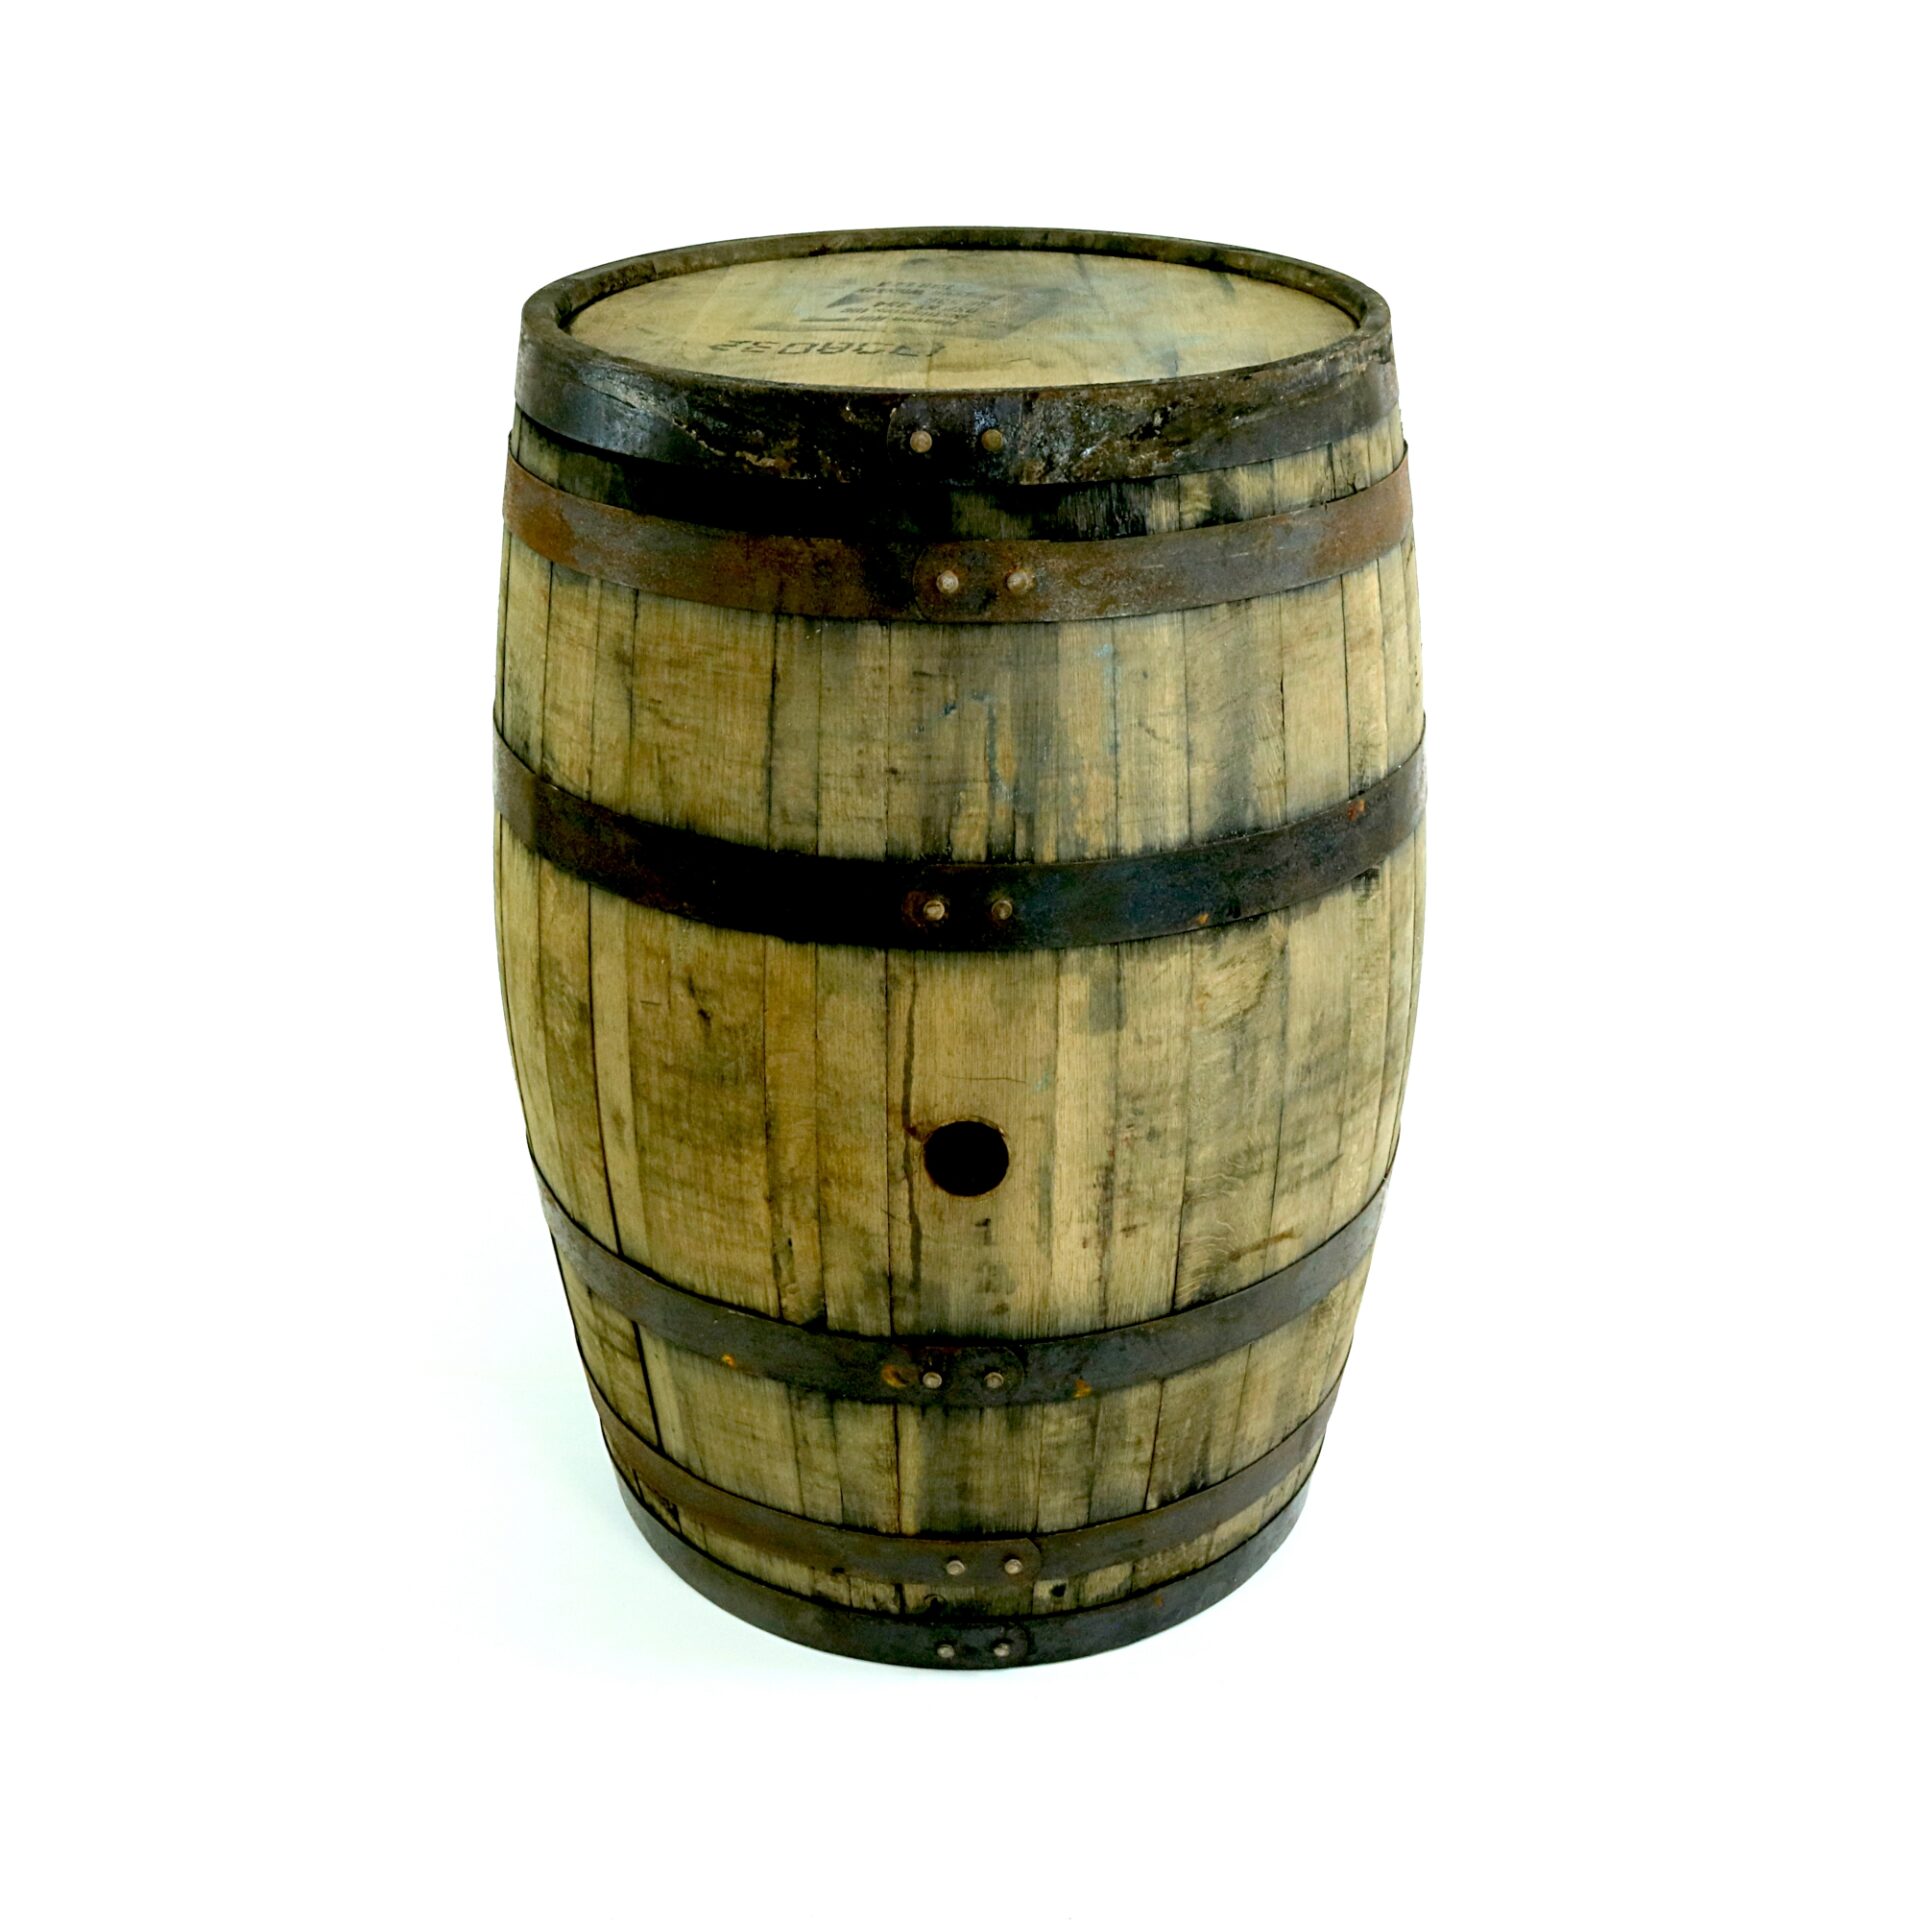
Step 1: Find a whiskey barrel
The first step is to find a whiskey barrel. You can find them at local distilleries, online marketplaces, or even at antique shops. Make sure to choose a barrel that is in good condition and free from any cracks or leaks.
Step 2: Clean the barrel
Before you start working on the barrel, you need to clean it thoroughly. Use a stiff brush and water to remove any dirt or debris that may be on the surface. If there are any stains or discolorations, sand them down with sandpaper or a power sander.
Step 3: Cut the barrel
Next, you need to cut the barrel in half. This can be done using a saw or a jigsaw. Make sure to cut the barrel evenly so that the two halves are the same size.
Step 4: Sand the edges
After you’ve cut the barrel, sand the edges of each half to remove any rough spots. This will make it easier to sit on the chair and prevent any splinters.
Step 5: Create the seat
To create the seat of the chair, you’ll need to cut a piece of wood that is the same size as the barrel. This will serve as the seat of the chair. Sand the edges of the wood to remove any rough spots.
Step 6: Attach the seat
Next, attach the seat to the barrel using screws. Make sure to pre-drill the holes to prevent the wood from splitting. You can also use wood glue to reinforce the connection between the seat and the barrel.
Step 7: Create the backrest
To create the backrest of the chair, you’ll need to cut a piece of wood that is the same length as the barrel. Sand the edges of the wood to remove any rough spots.
Step 8: Attach the backrest
Attach the backrest to the barrel using screws. Make sure to pre-drill the holes to prevent the wood from splitting. You can also use wood glue to reinforce the connection between the backrest and the barrel.
Step 9: Add the legs
Finally, add legs to the chair. You can use pre-made legs or create your own using wood. Attach the legs to the bottom of the barrel using screws. Make sure to pre-drill the holes to prevent the wood from splitting.
Step 10: Finish the chair
Once you’ve attached the legs, sand the entire chair to remove any rough spots. You can also stain or paint the chair to give it a finished look.
In conclusion, creating a reclaimed whiskey barrel chair is a fun and rewarding project. By following these steps, you can create a unique piece of furniture that will be a great addition to any home. So, grab a whiskey barrel and get started on your own reclaimed whiskey barrel chair today!
(this is just a standard way to start making a simple chair using the reclaimed lumber. Our process is much different but this should be a good jumping off point.)